Monster Hunter Wilds Skill Tier List 2026: Best Skills Ranked & Build Priority Guide
Complete skill tier list and priority guide for Monster Hunter Wilds 2026. Learn which skills are S-tier must-haves, which are situational, and how to prioritize your decoration slots for maximum DPS.
Compiled by the WildsBuilder team from thousands of community builds and in-game damage testing. All values verified for Title Update 4 (February 2026).
With over 100 skills available in Monster Hunter Wilds, knowing which ones actually matter is the fastest way to improve your builds. This comprehensive MH Wilds skill tier list ranks every major skill from S-tier (build-defining) to C-tier (situational), with a practical priority guide for filling your decoration slots efficiently.
Whether you're building your first meta set or min-maxing every last decoration slot, this guide will transform how you think about skill selection in MH Wilds.
The Core Philosophy of Skill Stacking
Before the tier list, understand the principle that separates good MH Wilds builds from great ones:
Multiplicative skills beat additive skills
In MH Wilds, damage modifiers stack multiplicatively — each new multiplier is calculated against the total of everything before it. This means skills that add new damage categories (like Wound Exploit or Focus Boost 4+) are typically far more valuable than skills that add to an existing category (like taking Attack Boost from 5 to 7).
A simplified example:
The math matters. Prioritize skills that add multiplicative layers.
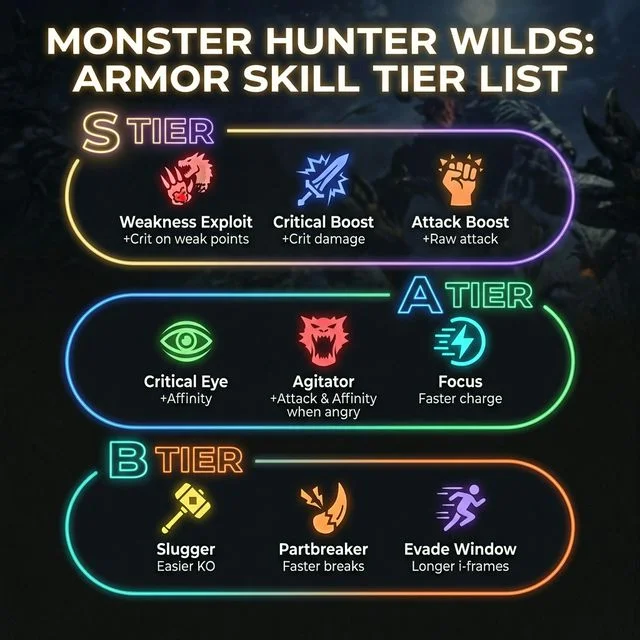
S-Tier Skills — Mandatory in All Builds
These skills are so impactful that no serious Monster Hunter Wilds build should launch without them.
Weakness Exploit (Max Level 3) ★★★★★
The single most valuable skill in MH Wilds
WEX3 provides 50% free affinity on the exact shots that matter most (the ones hitting weak points). Combined with Critical Eye and weapon affinity, this is how most builds reach 100% affinity. It's a massive multiplicative boost because affinity converts to damage through critical hits, and crits apply to the full damage formula including wound bonuses.
All weapons, all builds. No exceptions.
Critical Boost (Max Level 3) ★★★★★
Makes every crit hit harder
At 100% affinity (which most builds achieve), Critical Boost 3 turns every single hit into 140% damage. That's a flat 12% damage increase over no Critical Boost at full affinity. The math is straightforward — the higher your affinity, the more valuable Critical Boost becomes.
Only take at 70%+ affinity. Below that, invest elsewhere first.
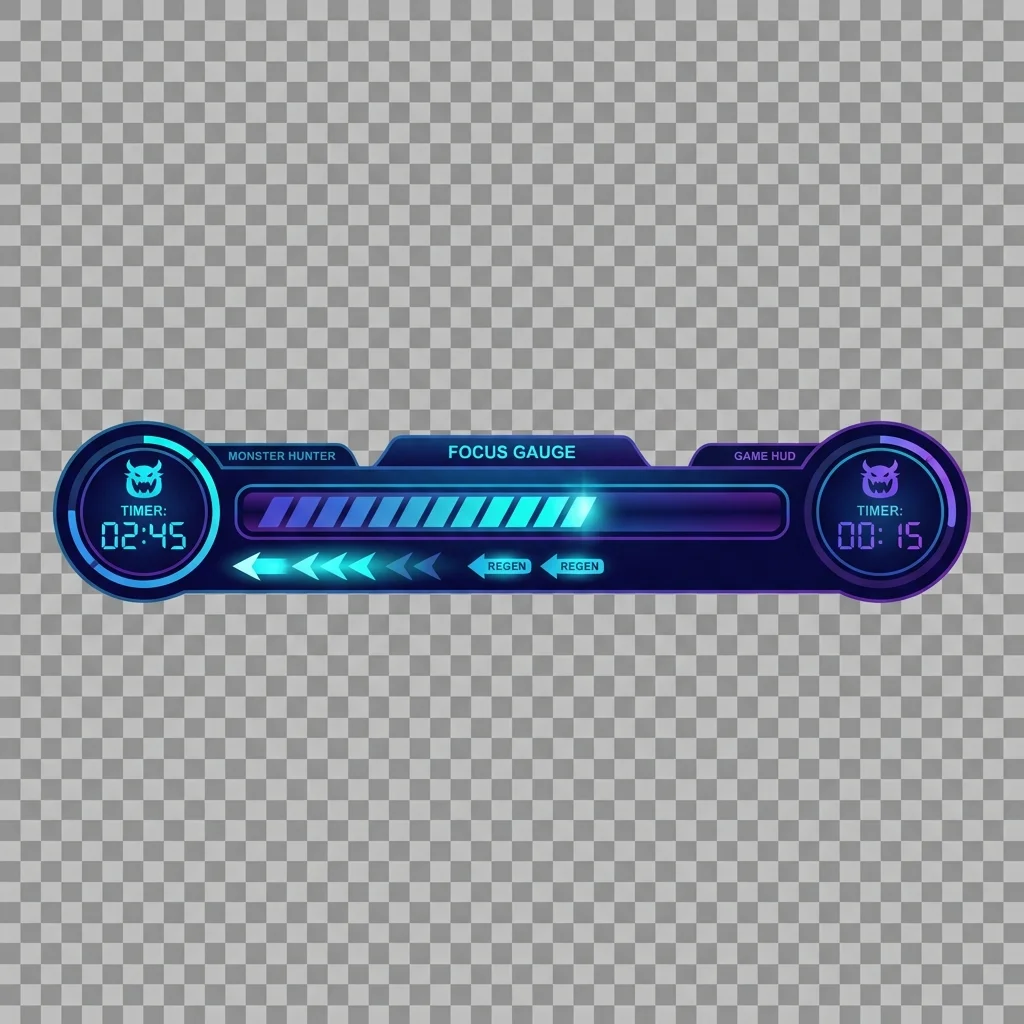
Focus Boost (Max Level 5) ★★★★★
MH Wilds' defining skill system
The damage bonus at levels 4-5 is a multiplicative modifier that stacks with wounds and crits. In our testing, Focus Boost 5 increased overall hunt DPS by 18-28% depending on weapon, due to the combination of uptime improvement AND the damage multiplier.
Target minimum Focus Boost 4. Level 5 is the endgame goal.
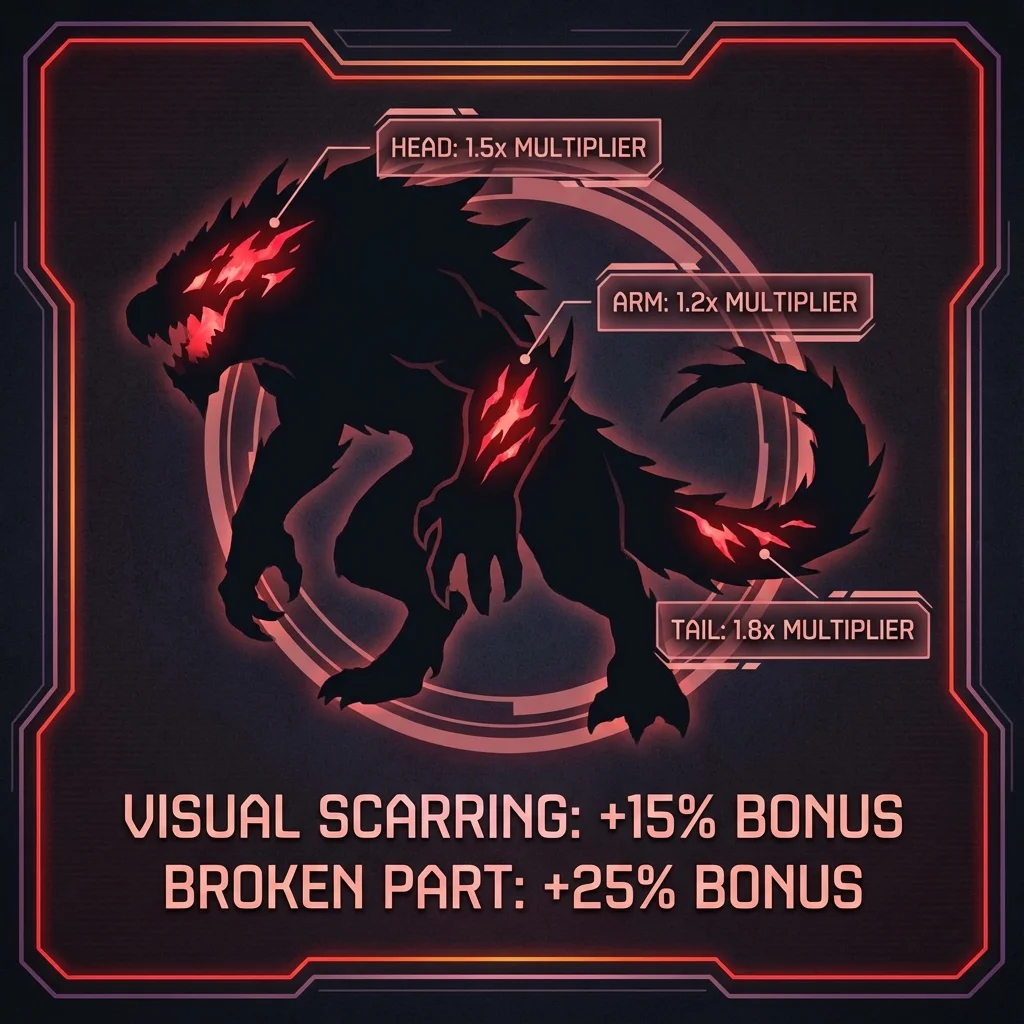
Wound Exploit (Max Level 3) ★★★★☆
Multiplicative damage on your best shots
The 15% at Level 3 is multiplicative on top of everything else — your affinity, your crits, your Focus Mode bonus. Because you should always be targeting wounded parts anyway (WEX3 requires it), Wound Exploit is essentially a free 15% bonus with zero playstyle cost.
Use Tenderizer Jewels to hit Level 3 in decoration slots.
A-Tier Skills — Strong Additions to Any Build
These skills significantly improve your builds and should be included whenever possible.
Critical Eye (Max Level 7) ★★★★☆
The affinity filler
Critical Eye is the bridge skill that gets you to 100% affinity when your weapon and WEX3 don't quite close the gap. At max level it provides a huge +40% affinity, but it's additive with other affinity sources — the closer you are to 100%, the less valuable each additional point becomes.
Recommended: Take enough levels to reach 100% affinity on wounded parts. Never go above what's needed.
Agitator (Max Level 5) ★★★★☆
Free damage during enrage (which is always)
In endgame content, monsters spend 40-60% of each hunt in an enraged state. Agitator's bonuses apply during all of this time — that's a major attack and affinity boost on demand. The 20 true attack at Level 5 is more raw attack than Attack Boost 5 by itself.
Stack 3-5 levels through armor pieces and Expert/Attack decos.
Attack Boost (Max Level 7) ★★★☆☆
Raw baseline but diminishing returns
Attack Boost is not bad, but it's additive with itself and stacks beside (not multiply with) your affinity/crit layer. Level 4 is the sweet spot — the 5% multiplier kicks in. Levels 5-7 add marginal gains that are often better spent on another skill.
Recommended: Reach Level 4 through armor. Let decorations fill 5-7 if slots remain after priority skills.**
Peak Performance (Max Level 3) ★★★☆☆
Strong synergy with healing builds
With Nergigante set bonus (Health Regen on attacks), maintaining full health becomes trivial. Peak Performance 3 then becomes a permanent +20 true raw — comparable to Attack Boost 4-5. Strong on aggressive playstyles against monsters whose attacks you've memorized.
Best on Nergigante armor sets. Less valuable for hunters who take chip damage frequently.
Handicraft (Max Level 5) ★★★☆☆
Sharpness = real damage
Sharpness provides direct damage multipliers (White = 1.32x vs. Blue = 1.20x). Getting from Blue to White sharpness through Handicraft is approximately +10% damage — significant. However, many top-tier weapons already reach White naturally. Always check your weapon's sharpness before taking Handicraft.
High value if needed to reach White. Skip if your weapon already reaches White naturally.
B-Tier Skills — Solid Situational Picks
Stamina Surge (Max Level 3) — Critical for stamina-dependent weapons (Dual Blades, Bow, Hunting Horn). Negligible for other weapons.
Speed Sharpening (Max Level 3) — Reduces sharpening time by 30/50/70%. Quality of life for long hunts with fast sharpness drain. Not a DPS skill but prevents DPS loss from extended sharpening animations.
Quick Sheath (Max Level 3) — Faster weapon sheathing. Critical for Long Sword Iai Slash counters. Strong on any weapon that benefits from frequent sheathing for positioning or healing.
Divine Blessing (Max Level 3) — 25/50% chance to reduce incoming damage by 25/50%. Averages a 12-25% damage reduction — strong for newer hunters learning patterns. Experienced hunters rarely need it.
Evade Extender (Max Level 3) — Longer dodge rolls. Makes repositioning significantly easier. Very strong for mobile playstyles and learning new monsters.
Flinch Free / Stun Resistance — These are quality of life skills that prevent interruptions from teammates or monster attacks. Near-mandatory in multiplayer, less important in solo.
C-Tier Skills — Niche or Low Impact
These skills aren't bad but offer lower returns compared to A/B tier alternatives:
Health Boost (Lv3 = +50 HP)
Excellent for new hunters learning content. Experienced hunters find it unnecessary after memorizing patterns. Never take in a min-maxed DPS build, but strongly recommended while learning.
Constitution (Stamina reduction)
Only relevant for Bow and Dual Blades. Even then, Stamina Surge is usually preferred.
Guard Up
Allows guarding otherwise unblockable attacks. Niche — only needed for specific monster fights (Nergigante dive bomb, certain Elder Dragon attacks). Not a permanent inclusion.
Marathon Runner
Extended stamina depletion — too situational to justify consistent slot usage.
Skill Priority: How to Fill Decoration Slots
When you've assembled your armor set and have decoration slots to fill, follow this priority order:
Priority 1 — Affinity Completion
First, fill slots with Expert Jewels (Critical Eye) or Tenderizer Jewels (Weakness Exploit) until you reach exactly 100% affinity on wounded parts. Going over 100% is wasted affinity.
Target: WEX3 + CE enough = exactly 100% affinity on wounds.
Priority 2 — Critical Boost Completion
Take Critical Boost from wherever your armor leaves off to Level 3. Critical Jewels are widely available and provide consistent returns.
Target: Critical Boost 3 (always).
Priority 3 — Focus Boost Completion
If your armor doesn't already provide Focus Boost 4-5, fill slots with Focus Jewels until you reach Level 4 minimum.
Target: Focus Boost 4 at minimum, 5 ideally.
Priority 4 — Wound Exploit Completion
Tenderizer Jewels are the primary source. Complete Level 3 here for the full 15% multiplicative bonus.
Target: Wound Exploit 3.
Priority 5 — Attack Boost to Level 4+
Once all multiplicative and affinity skills are complete, start filling with Attack Jewels.
Priority 6 — Weapon-Specific Skills
After the universal priorities above, add weapon-specific skills (Spread Up, Pierce Up, Slugger, etc.) that apply to your chosen weapon.
Build Archetypes: Skill Sets by Playstyle
Meta DPS Build (Any Weapon)
WEX3 + CB3 + CE7 (to 100% affinity) + Focus Boost 5 + WO3 + AB4+
This formula is the foundation of every top meta build in MH Wilds. Once these are in place, add weapon-specific skills in remaining slots.
Comfort Build (New Hunters)
Health Boost 3 + WEX3 + CB3 + Divine Blessing 2 + Focus Boost 3 + Evade Window 2
Survivability-first approach. You'll deal roughly 20-30% less damage but cart far less often. Transition to the meta build once you know monster patterns.
Support Multiplayer Build
Wide-Range 5 + Free Meal 3 + Speed Eating 3 + WEX3 + CB3 + Focus Boost 3
Built to keep teammates alive in multiplayer. Wide-Range 5 shares your item use with nearby teammates — potions, antidotes, and buffs all become team-wide.
Quick Reference: Skill Tier Summary
| Tier | Skills |
|---|---|
| S | Weakness Exploit 3, Critical Boost 3, Focus Boost 4-5, Wound Exploit 3 |
| A | Agitator 5, Critical Eye 7 (to cap), Attack Boost 4+ |
| B | Peak Performance 3, Handicraft (if needed), Quick Sheath 3 |
| C | Health Boost 3 (learning), Divine Blessing, Evade Extender |
Conclusion
The best Monster Hunter Wilds builds all share the same skeleton: Weakness Exploit 3, Critical Boost 3, Focus Boost 4-5, and Wound Exploit 3 form an unbreakable core that every weapon benefits from. Everything else is customization.
Stop chasing shiny skills and start understanding why these four work — they're multiplicative, they synergize with each other, and they reward the precision gameplay that MH Wilds is built around.
Ready to put these skills to work? Use our Build Planner to assemble your perfect armor set, slot in the right decorations, and simulate your actual damage output. Your perfect build is just a few clicks away.
Happy hunting, and may your Weakness Exploit always proc!
Ready to Build?
Put this knowledge into practice with our free Monster Hunter Wilds build planner.
Open Build Planner →WildsBuilder Team
Monster Hunter Experts
The WildsBuilder team consists of veteran Monster Hunter players with over 5,000+ combined hours across the series. We specialize in build optimization, damage calculation, and helping hunters master the game.