Monster Hunter Wilds Material Farming Guide: Fastest Routes for Zenny, Ore, and Armor Spheres
The most efficient routes and methods for accumulating Zenny, farming high-tier ores, and gathering Heavy/King Armor Spheres required for endgame upgrades in MH Wilds.
Compiled by the WildsBuilder team, utilizing thousands of community data points to find the absolute fastest farming routes. Updated for TU4.
As you progress through High Rank and approach the endgame of Monster Hunter Wilds, you will quickly realize that monster parts aren't the only bottleneck. Upgrading a single Rarity 8 armor piece to max level requires exorbitant amounts of Zenny and dozens of King Armor Spheres. Crafting new weapons devours rare ores like Meltcrystal and Novacrystal at an alarming rate.
This guide provides the absolute most efficient, community-tested routes for farming Zenny, Armor Spheres, and Ores in MH Wilds. Stop wasting time hunting randomly and start farming efficiently.
Preparation: The Ultimate Gathering Build
Before we begin running routes, you need a dedicated gathering build. Never farm with your standard combat armor.
Essential Skills
Armor Recommendation: The High Rank Guild Cross or Leather sets naturally provide most of these skills. Slot in Geology and Botany decorations to cap them out.
Zenny Farming: The "Might Seed" Trade Route
Unlike previous games where hunting monsters and selling parts was the fastest way to get Zenny, MH Wilds rewards an optimized trading and gathering loop.
Method 1: The Bandit Mantle / Plunderblade Loop (Combat)
If you prefer combat for your Zenny:
Yield: ~250,000z every 10 minutes.
Method 2: The Endemic Life / Flora Bounty Loop (Passive)

Yield: ~300,000z equivalent every 15 minutes, with zero combat required.
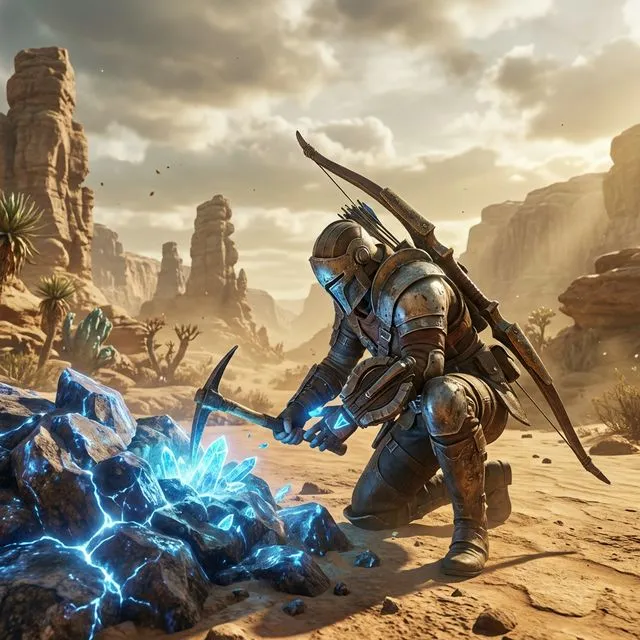
Ore Farming: The Ultimate Mining Route
Rare ores are the bane of weapon crafting. Here's how to stockpile Meltcrystal, Gracium, and Fucium Ore.
The Hoarfrost Reach / Volcanic Route
Ores are heavily biome-dependent. For the best endgame ores, you must bounce between the Volcanic and Tundra regions.
Step 1: The Bountiful Upsurge
Open your world map and look for an area with Upsurge: Mining Outcrops. Wait until you see this modifier; it guarantees that rare/red mining nodes spawn more frequently.
Step 2: The Route
Using the Volcanic region as an example:
Pro-Tip: Mine the node *only three times* instead of the maximum four. By leaving the node intact, it respawns much faster. (Note: Only do this if you are not using Geologist 3, which gives a 4th gather).
Armor Sphere Farming: Maximize Your Bounties
Armor Spheres cannot be gathered from the map. They must be earned through the Bounty system or specific event quests.
The Bounties Method (Consistent)
Always keep your bounties full. It is free passive income.
The Event Quest Method (Burst)
Capcom implements specialized event quests specifically for armor sphere farming.
Currently in TU4, the best quest is "A Grand Sphere Spelunking" (requires HR 40).
Melding: Converting Junk to Jewels
A side note on resource management: Do not sell monster parts you don't need for Zenny. Instead, use them at the Melding Pot.
With the TU4 update allowing Gogmazios and other AT monster parts to be melted, you can convert excess Rarity 8 monster parts into Melding Points for Timeworn Charms and Rarity 4 Decorations. Your Zenny should come from the routes listed above; keep your monster parts for melding!
Conclusion
Efficiency in Monster Hunter is all about preparation. Spend 30 minutes crafting a perfect Gathering build, learn the optimal routes, and you'll cut your grinding time by 75%. The less time you spend hitting rocks, the more time you can spend hitting Arch-Tempered Arkveld. Happy farming!
Ready to Build?
Put this knowledge into practice with our free Monster Hunter Wilds build planner.
Open Build Planner →WildsBuilder Team
Monster Hunter Experts
The WildsBuilder team consists of veteran Monster Hunter players with over 5,000+ combined hours across the series. We specialize in build optimization, damage calculation, and helping hunters master the game.