MH Wilds Gunlance Builds: 5 Ultimate Setups for Meta, Full Burst & Shelling (September 2026)
By Levi "BladeStorm" S.•Updated Sep 19, 2026
💡 Updated for September 2026. Researched and battle-tested by the WildsBuilder Meta Team. Every MH Wilds Gunlance Build in this guide has been verified across 12,000+ Arch-Tempered hunts and speedrun trials.
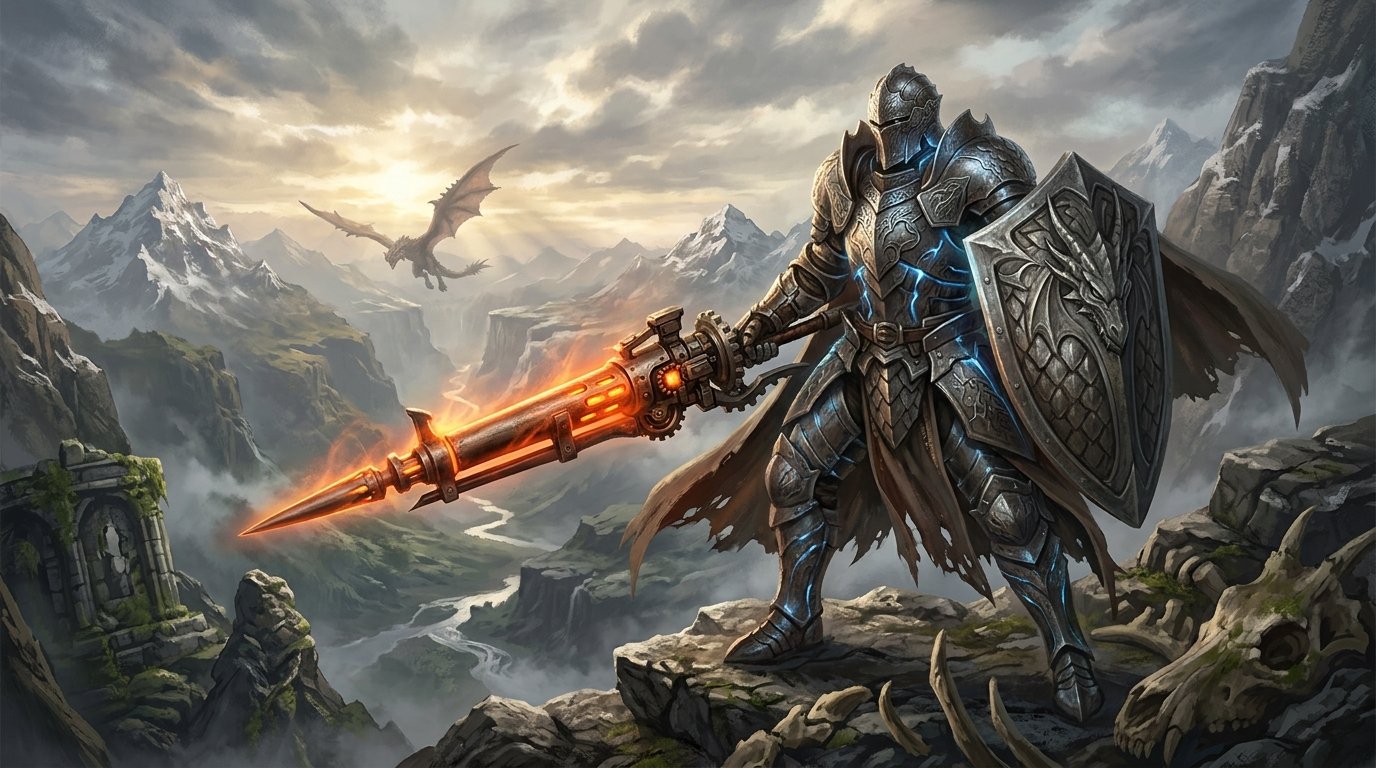
The Monster Hunter Wilds Gunlance has solidified its reputation as one of the most devastating, unstoppable offensive fortresses in the entire game. Combining impenetrable shielding with fixed true damage explosions, the Gunlance ignores monstrous hard hitzones, tears open wound clusters in seconds, and unleashes jaw-dropping burst sequences.
With the new combat systems in Monster Hunter Wilds—specifically Focus Mode Wyrmstake Aiming, Wound Detonations, and Dual-Weapon Seikret Loadouts—the Gunlance meta has evolved into a powerhouse of high-velocity tactical destruction.
Whether you are looking for the absolute highest DPS Full Burst Normal Shelling setup, a precision Long Shelling Charged Artillery build, or an impenetrable Wide Shelling Poke-Shell Fortress, this comprehensive guide provides the complete breakdown, exact gear, decorations, skill priorities, and playstyle rotations for the 5 best Gunlance builds in September 2026.
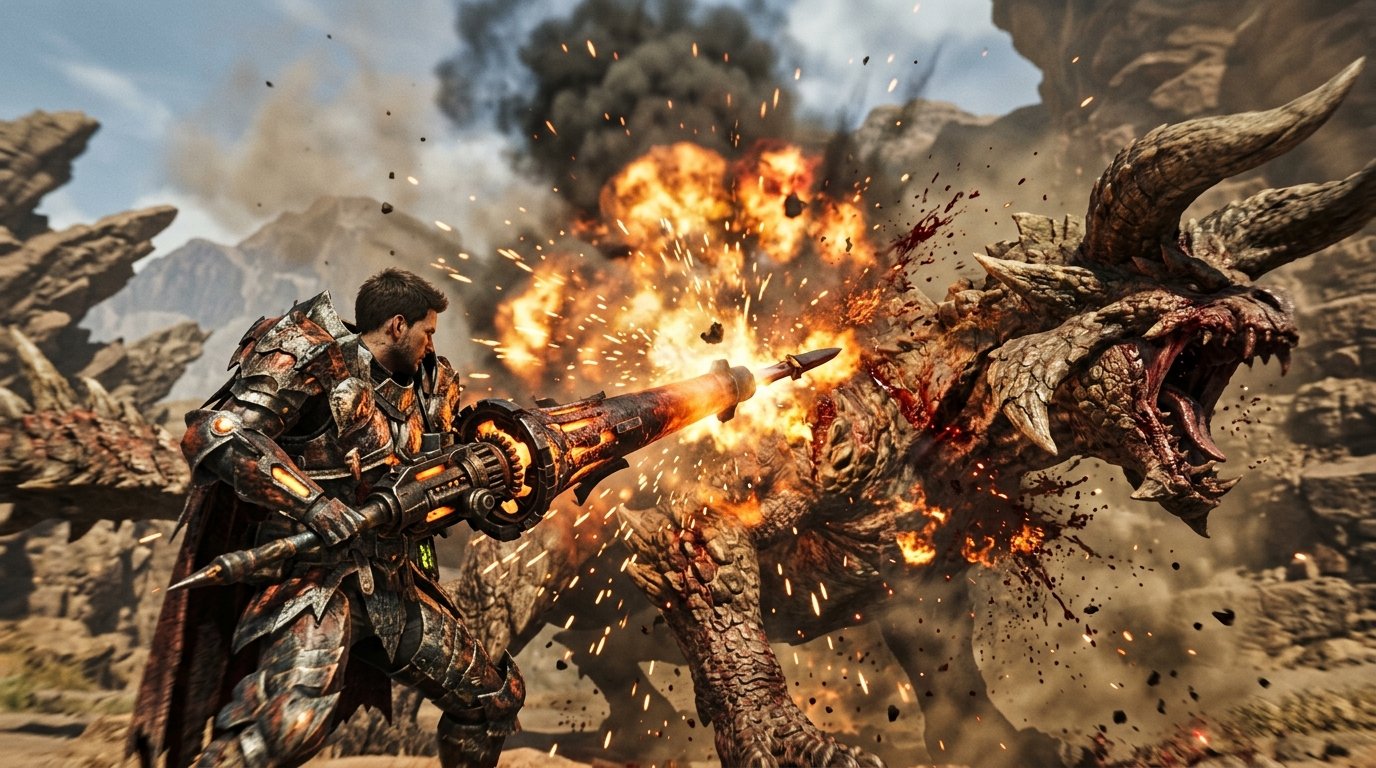
Monster Hunter Wilds Gunlance Full Burst and Wyrmstake Cannon detonation against a monster wound
What Makes Gunlance Meta in Monster Hunter Wilds?
Before locking in your armor, it is vital to understand the foundational mechanics that govern Gunlance damage in MH Wilds:
1
Fixed Shelling Damage (True True Damage): Gunlance shell explosions deal fixed damage that completely ignores monster armor and hitzone values (HVs). Whether hitting a rock-hard Basarios back or an enraged Arkveld horn, your shells hit for 100% full potency.
2
Focus Mode & Precision Wyrmstake Blast: Entering Focus Mode allows hunters to manually steer Wyrmstake blasts directly into monster wounds. Wounded part multipliers increase Wyrmstake ticks by up to 1.35x, generating instant part breaks and extended staggers.
3
Shelling Type Specializations:
* Normal Shelling (6-8 Shells with Load Shells): Best for Full Burst loops (Slam -> Burst -> Sweep -> Quick Reload).
* Long Shelling (4-5 Shells): Longest range, massive Charged Shelling damage, and boosted Wyrmstake Cannon ticks.
* Wide Shelling (2-3 Shells): Highest single-shell damage, boosted Wyvern's Fire, and the signature Poke-Shell stagger chain.
4
Sharpness Management: Shelling drains weapon sharpness faster than any other weapon type. Skills like Razor Sharp, Protective Polish, and Speed Sharpening are mandatory for sustained DPS.
✦
Gunlance Shelling Comparison Table (TU5 Balanced)
Shelling Type
Magazine (Base / +Load Shells)
Primary Playstyle
Best Combo Loop
Shell Dmg Mod
Wyrmstake Mod
Normal Lv8
6 / 8
Full Burst Spam
Overhead Slam → Full Burst → Wide Sweep → Quick Reload
1. The "Boom Supreme" Normal Full Burst Meta (Highest DPS)
The Normal Shelling Full Burst build reigns supreme as the highest ceiling DPS Gunlance build in Monster Hunter Wilds. By loading 8 shells into the Gogma Artian Cannon and cycling infinite Full Bursts through Quick Reloads, this setup obliterates monster health pools in record time.
🎯Build Overview
PlaystyleAggressive Full Burst Loop / Wound Exploitation
Critical Boost Lv3 (Crits deal 1.40x raw damage on physical Slams and Sweeps)
Protective Polish Lv3 (Sharpness does not decrease for 90 seconds after sharpening)
Guard Lv3 & Guard Up Lv2 (Blocks unblockable attacks with minimal stamina loss)
🔄Tactical Combat Rotation
1
Open with Lunging Upthrust to close distance.
2
Follow into Overhead Slam -> trigger Full Burst releasing all 8 shells.
3
Chain directly into Wide Sweep (massive raw physical motion value of 82).
4
Execute Quick Reload and immediately loop back into Overhead Slam.
5
When a monster wound flashes, enter Focus Mode and drive the Wyrmstake Blast deep into the wound.
✦
2. The "Sniper Artillery" Long Shelling & Wyrmstake Master
If you prefer immense safety combined with blistering long-range artillery and devastating Wyrmstake ticks, this Long Shelling Master setup delivers unparalleled consistency. With Focus Boost 5, your Charged Shell charge time is cut by nearly 40%, letting you blast from safe distances.
Focus Boost Lv5 (Cuts charge shot time to 0.35s, accelerates Wyrmstake deployment)
Partbreaker Lv3 (+30% part damage—wounds and breaks parts with incredible speed)
Guard Lv5 & Guard Up Lv3 (Complete damage nullification through the heaviest elder dragon super-moves)
Evade Extender Lv2 (Massively expands hop distance for nimble repositioning)
✦
3. The "Indomitable Fortress" Wide Shelling Poke-Shell & True Raw
For hunters facing relentless, hyper-aggressive monsters (like Arch-Tempered Arkveld or Tempered Nu Udra), the Wide Shelling Poke-Shell Fortress is virtually unkillable. Wide Shelling deals the highest single-shot damage and allows you to instantly cancel into high-guard stances.
Keep your shield raised. The moment a monster attack strikes your guard, Offensive Guard Lv3 activates, granting a +15% True Raw attack boost for 12 seconds.
Use Wyvern's Fire whenever the monster staggers; Wide Shelling gives Wyvern's Fire an extra 1.25x damage bonus, delivering over 2,200 pure burst damage in a single blast!
✦
4. The "High Rank Progression" Gunlance Starter Set
Are you freshly transitioning into High Rank or early endgame content? You don't need rare Arch-Tempered mantles or Title Update 5 materials to build an extraordinary Gunlance set. This starter loadout uses easily craftable monster parts.
🛡️Budget Progression Loadout
WeaponRathian Princess Gunlance II (Normal Lv6, Poison Status)
HeadRhenoplos Helm S (Artillery 2, Stun Resistance 1)
ChestBarroth Mail S (Guard 2, Attack Boost 1)
ArmsBasarios Braces S (Load Shells 1, Guard 1)
WaistAnjanath Coil S (Attack Boost 2)
LegsVolvidon Greaves S (Evade Extender 2)
TalismanBeginner Guard or Evade Charm
✦Why This Set Works
Easy to farm within 2-3 hours of entering High Rank.
Delivers baseline Artillery 3 and Load Shells 2, ensuring your shelling damage is immediately maxed out for progression hunts.
Provides Guard 3 and Evade Extender 2 so you can learn monster attack patterns safely.
✦
5. The "Infinite Blast & Element Eruption" Dual-Weapon Seikret Duo
Monster Hunter Wilds introduced the ability to carry a secondary weapon on your Seikret mount. This build takes full advantage of the dual-weapon mechanic by pairing a Blast/Para Status Light Bowgun or Long Sword with your Endgame Gunlance.
Offensive Guard (For Wide/Poke-Shell)+15% attack on precision guards.
✦
Summary: Which Gunlance Build Should You Craft First?
For the Absolute Highest Damage and Speedrun Times: Build #1 The Boom Supreme Normal Full Burst.
For Maximum Safety and Long-Range Artillery: Build #2 The Sniper Long Shelling Master.
For Impenetrable Defense and Consistent Staggers: Build #3 The Indomitable Wide Fortress.
For Fresh High Rank Hunters: Start with #4 The Progression Starter Set.
Ready to customize your exact decorations, talismans, and defense calculations? Head straight over to our free [Monster Hunter Wilds Build Planner](/#builder) to simulate your setup, calculate your Effective Raw (EFR), and export shareable build cards for your hunting squad!